Like most car details, I followed the general 5-step cycle of wash & dry, clean, compound, polish, and seal. I will describe each of the steps with appropriate pictures and videos below. But before going over the details, here is a quick rundown of products used at each stage:
- Wash: Meguiars Gold Class Car Wash Shampoo & Conditioner, Muc-off frequent wheel wash
- Clean/Clay: Mothers California Gold Clay Kit
- Compound: Meguiar's Ultimate Compound (Megs UC)
- Polish: Meguiar's Ultimate Polish (Megs UP)
- Seal: Big White Hi-temp Paste Wax (also known as Future Kare 1000p, or just FK1000p)
I hope this post will help future noobs like myself to navigate the wealth of information on the Internet and get to speed on detailing. But before I start, I want to make this clear that this is not a “how-to” guide – I am a n00b, and anything written here should not be considered a gospel. Each car is different, every person is different, and what worked for me may or may not work for others.
I also want everyone to realize that this car is a daily driver, and is exposed to the elements everyday for 8-10 hours. The NorCal heat and rains is enough to strip the most durable wax and sealants.
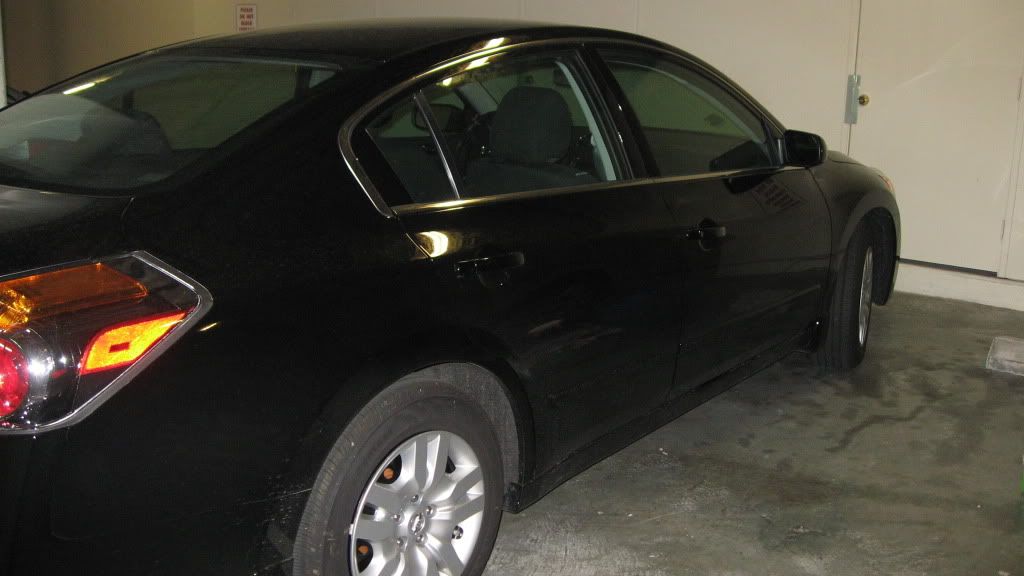
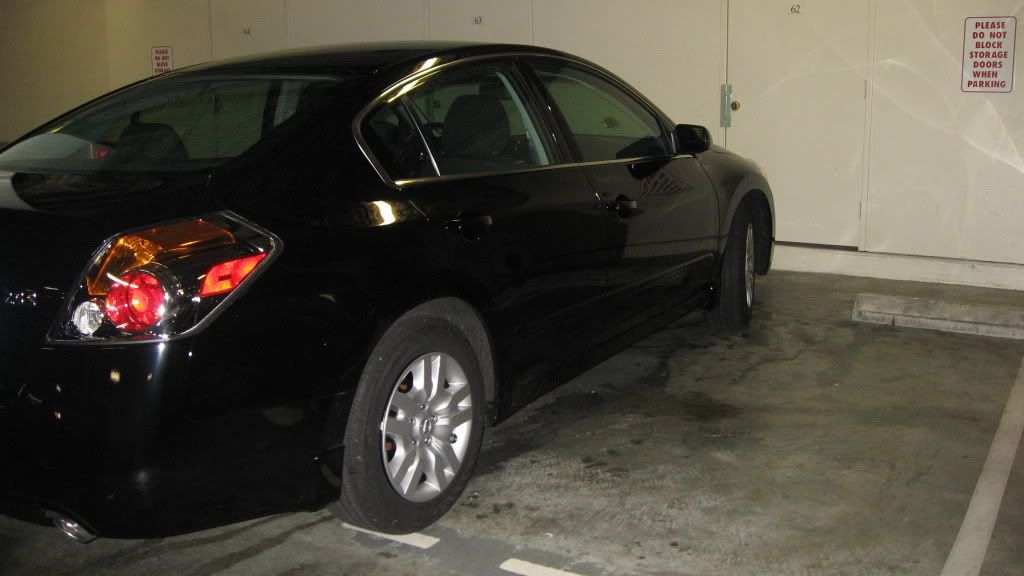
The BEFORE Pics:
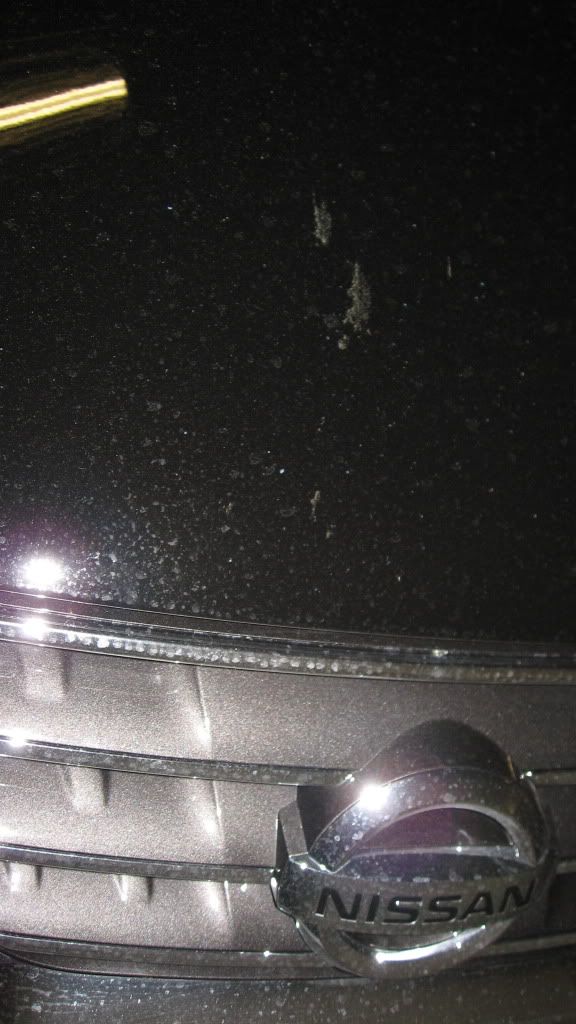
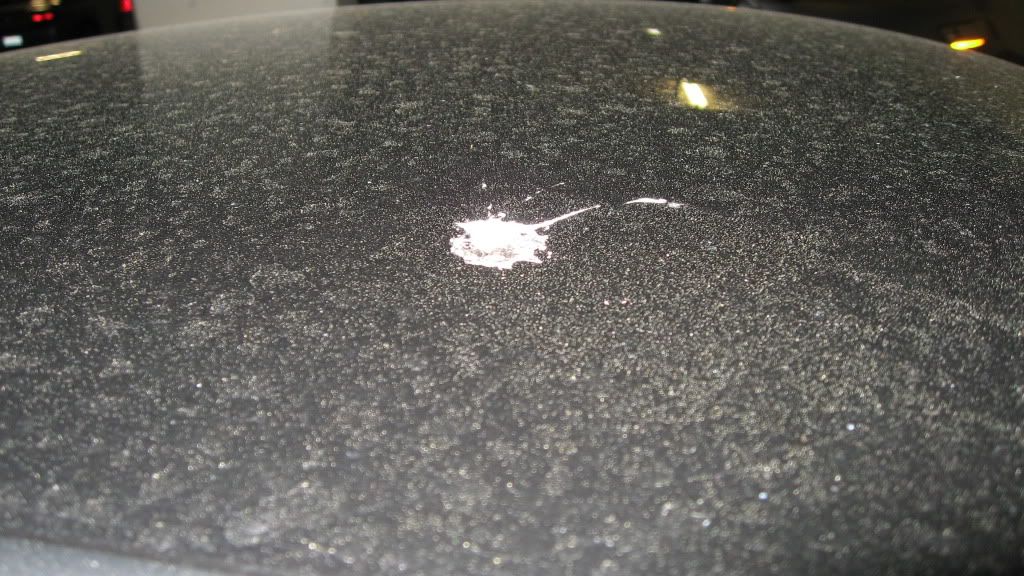
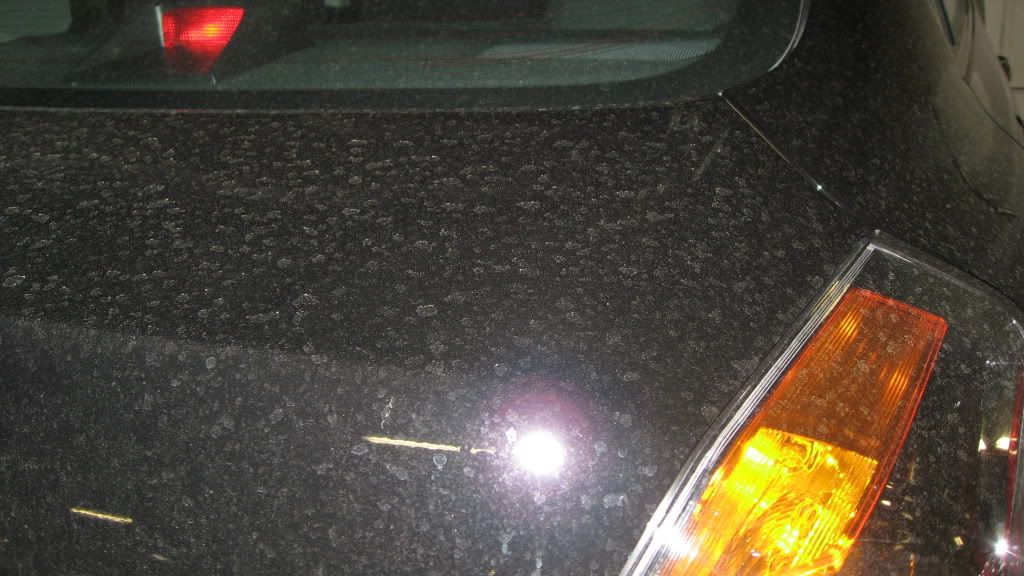
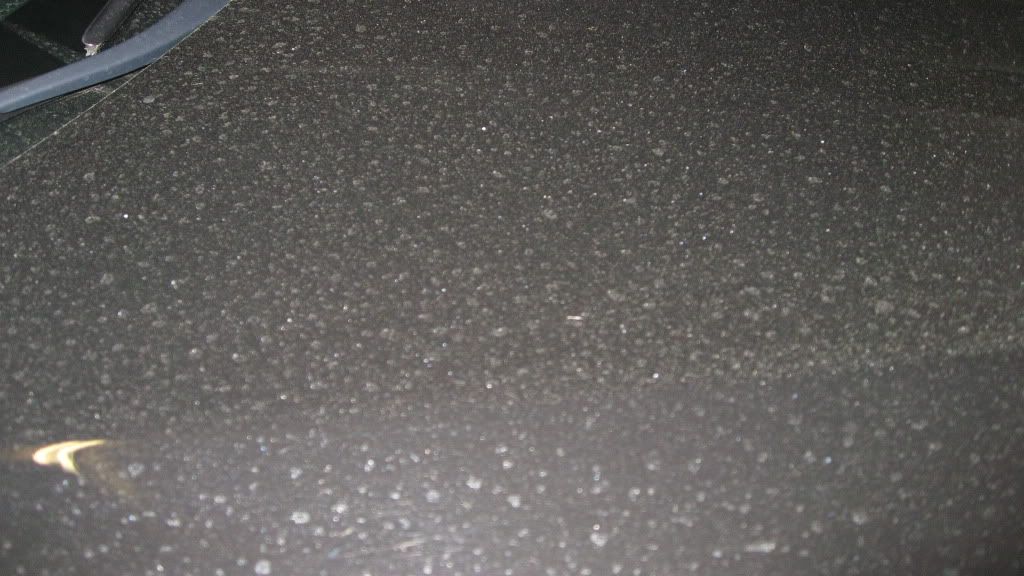
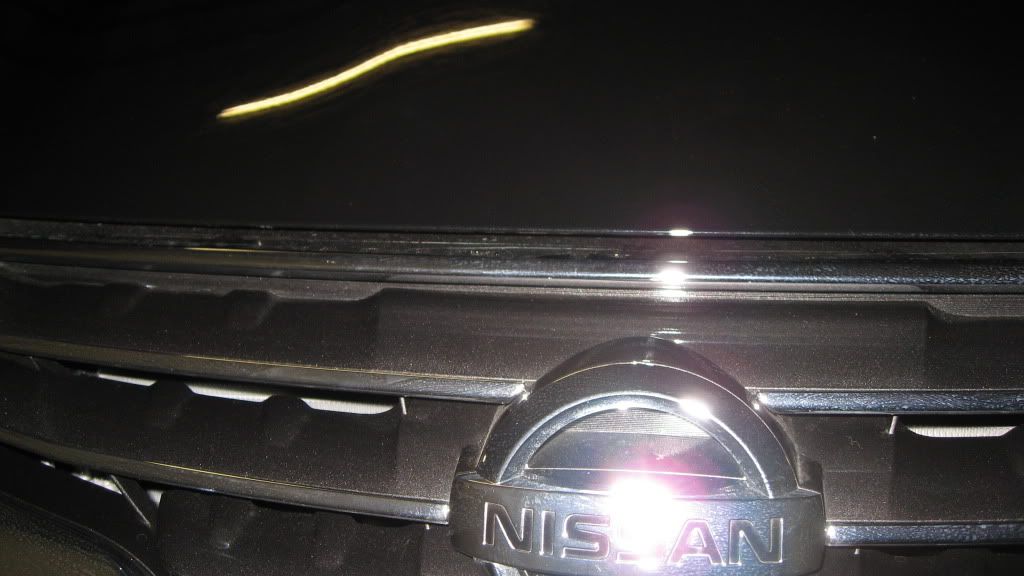
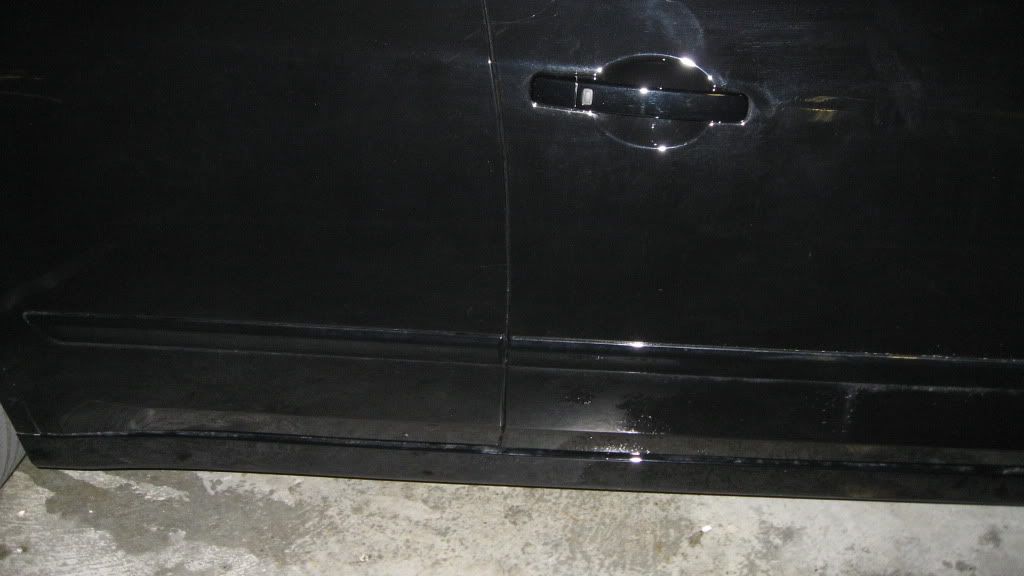
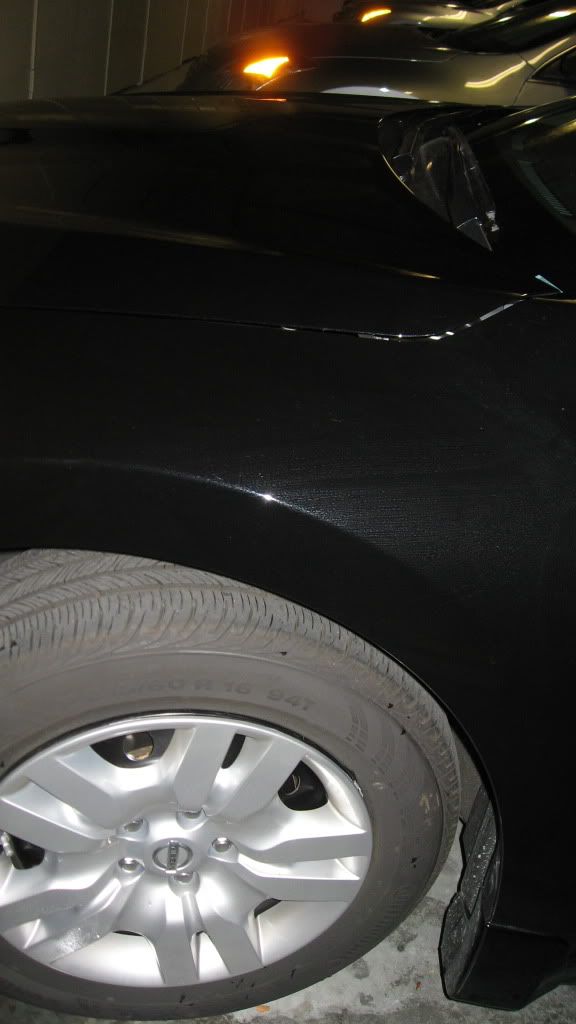
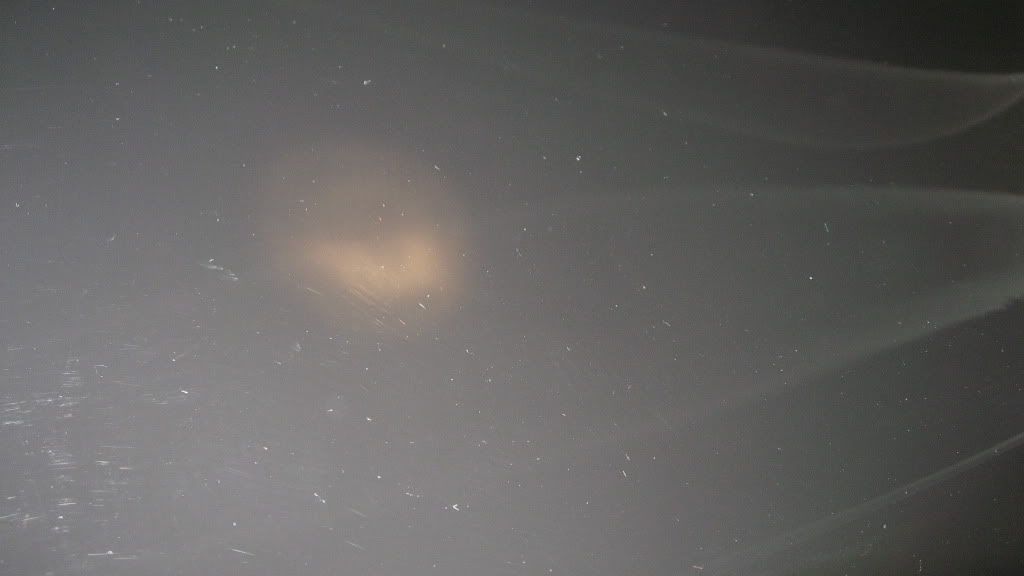
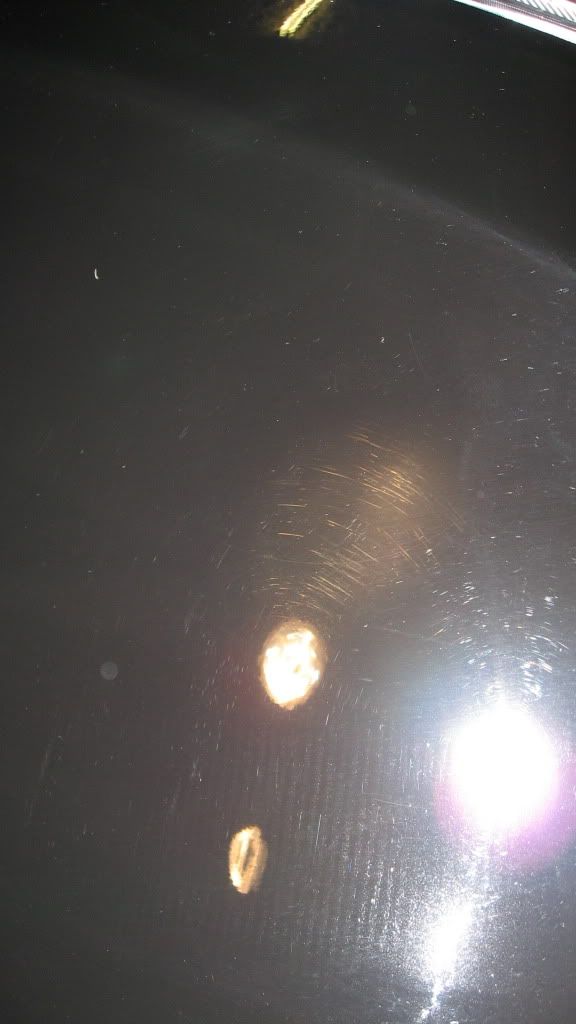
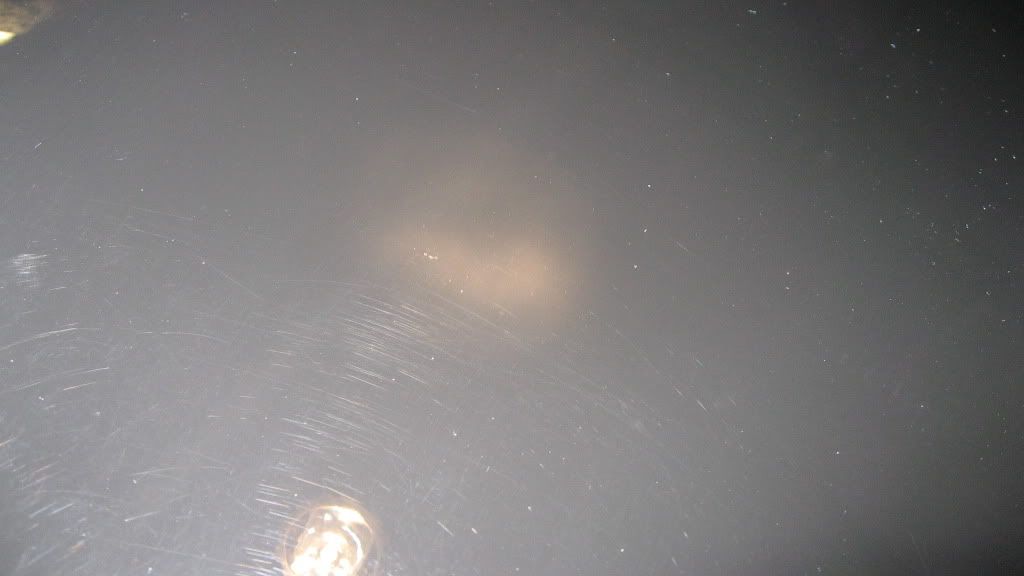
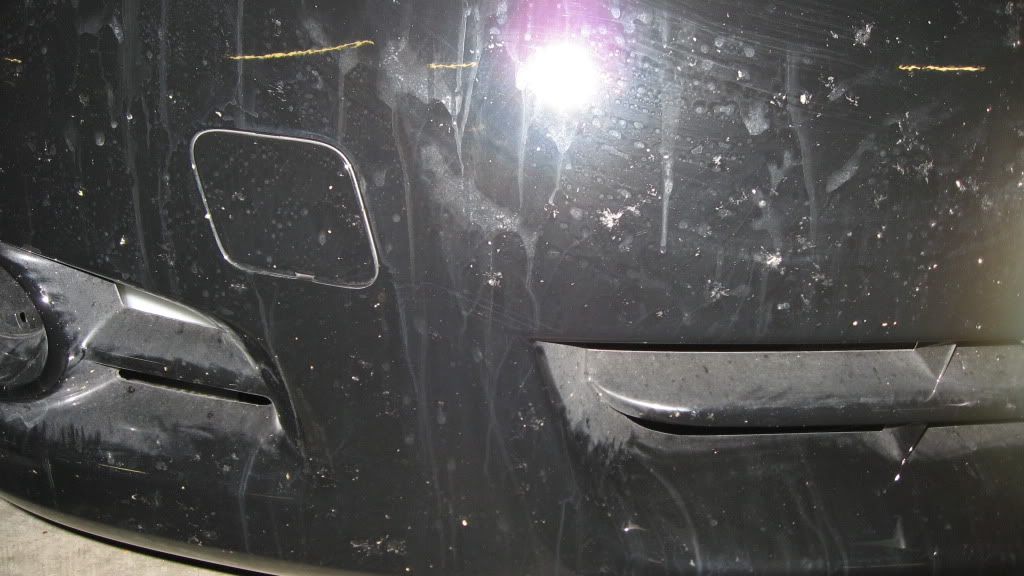
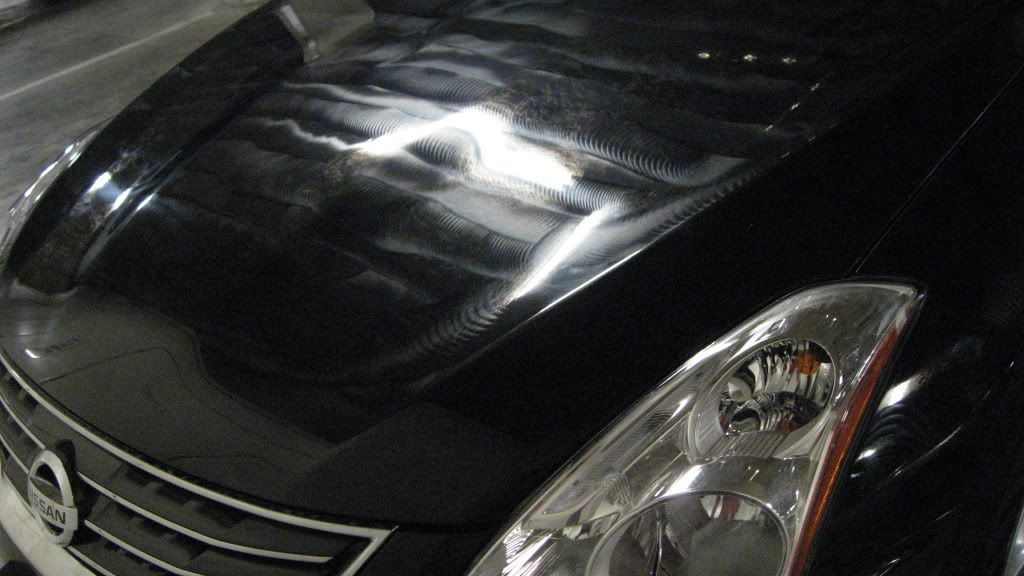
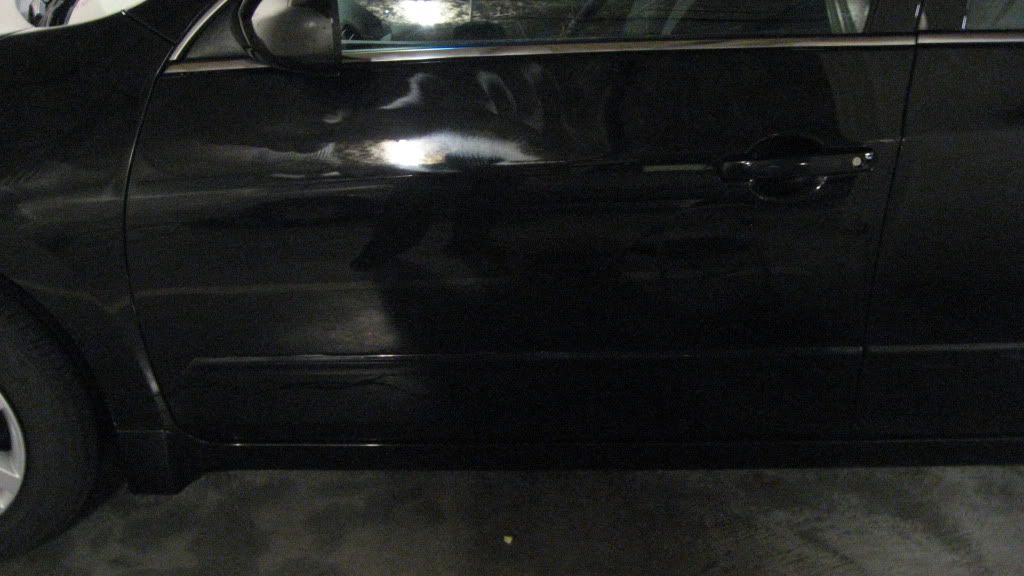
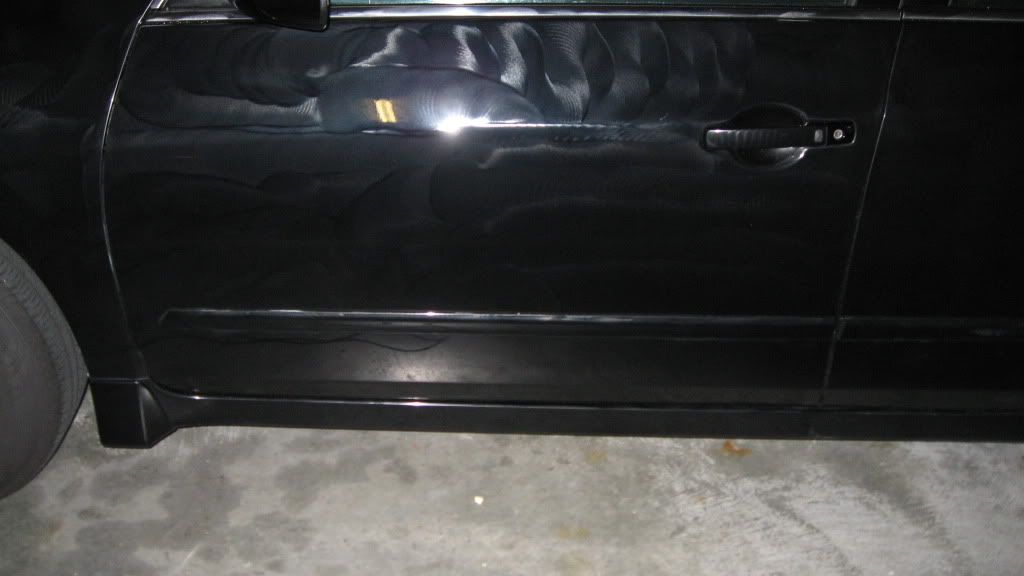
Here are some pics before I started. This car is less than 4 months old. The dealer glaze finally wore off, and I see tons of scratches and swirls that were likely hidden from the glaze. I also recently completed a road trip, so the car was really filthy!All scratched up….
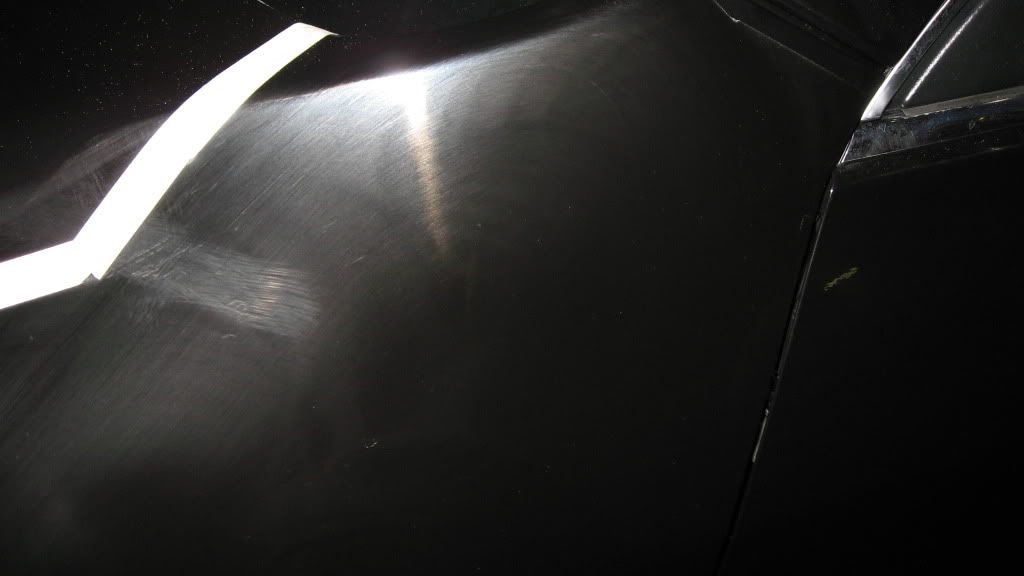
Few swirls and scratches:
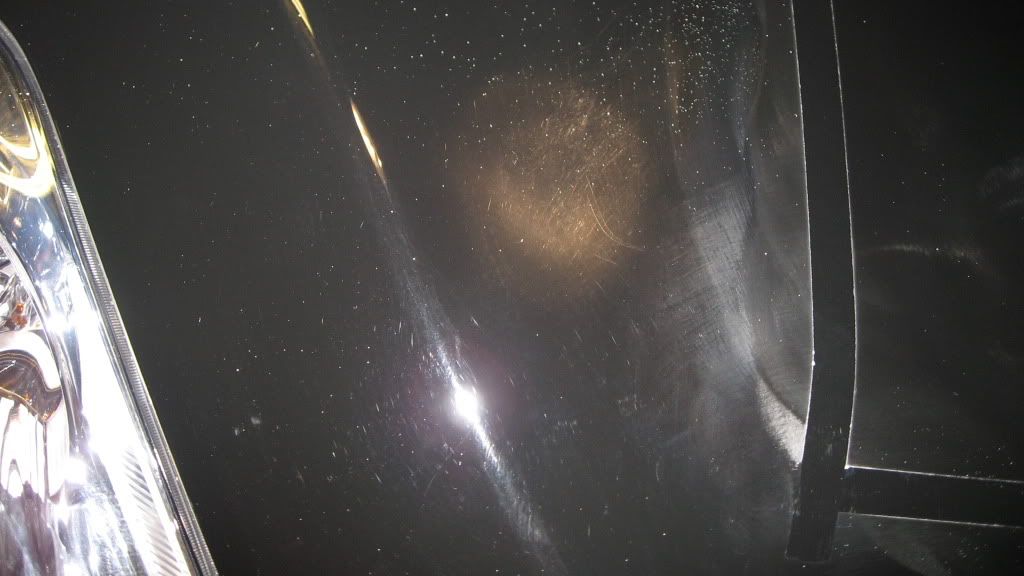
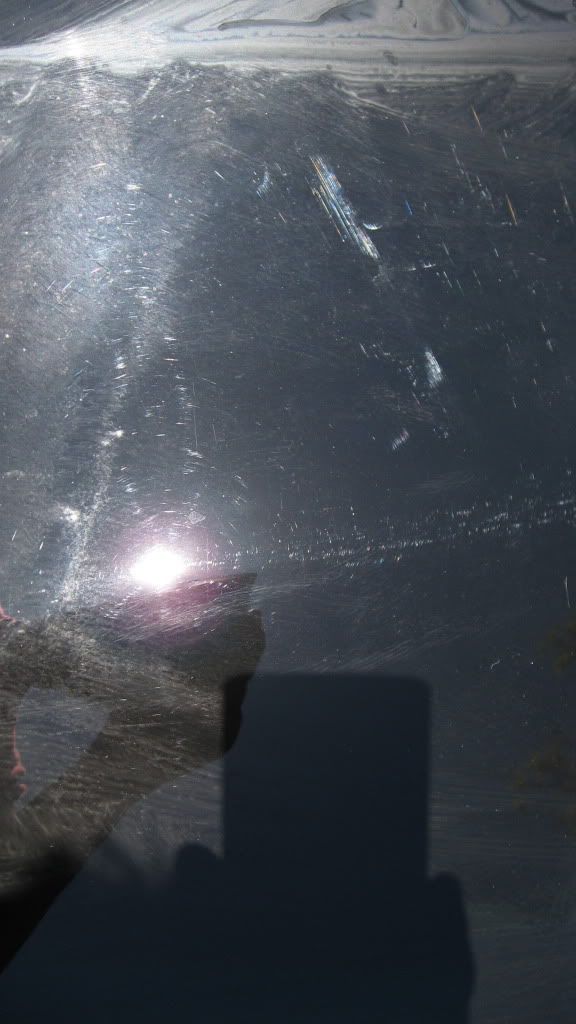


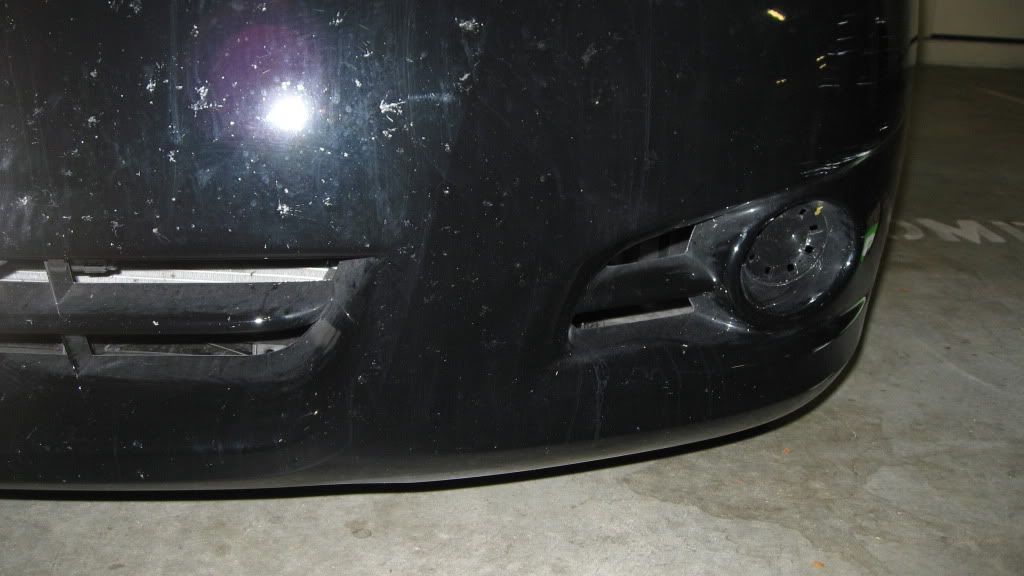
I just finished a road trip, so the front bumper is flush with road rash:
WASH & DRY
Products used in this stage:- Dawn Dish soap (do not use this unless you plan to wax/seal later. Dish soap can strip off old wax)
- Meguiar’s Gold class shampoo (Autogeek)
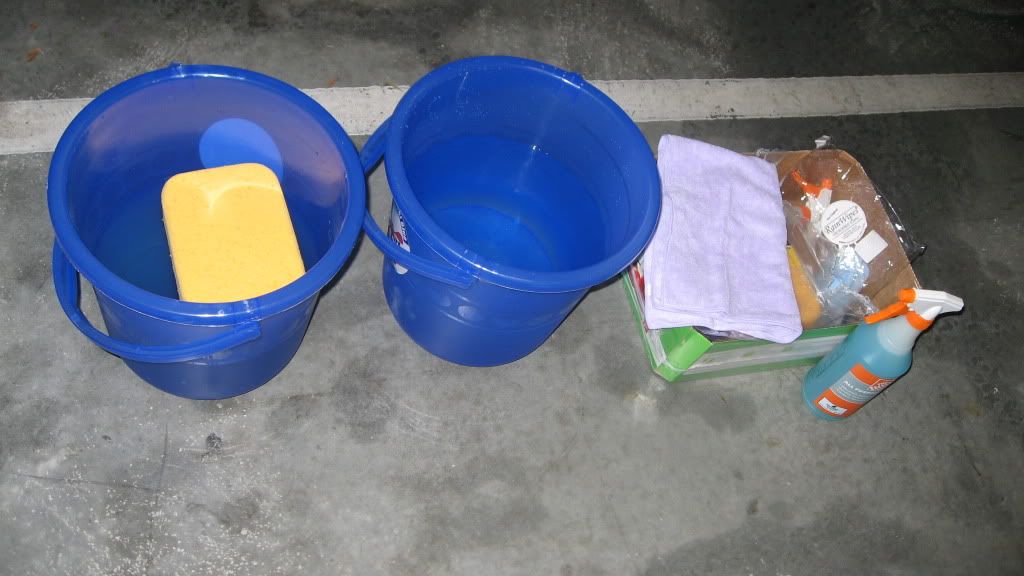
- 2 Buckets (DetailedImage) (Autogeek)
- Microfiber Wash Mitt (DetailedImage) (Autogeek)
- Microfiber Waffle Weave Towel (DetailedImage) (Autogeek)
- Microfiber Plush towel (DetailedImage) (Autogeek)
- Muc-off Frequent Wheel Wash (Autogeek)
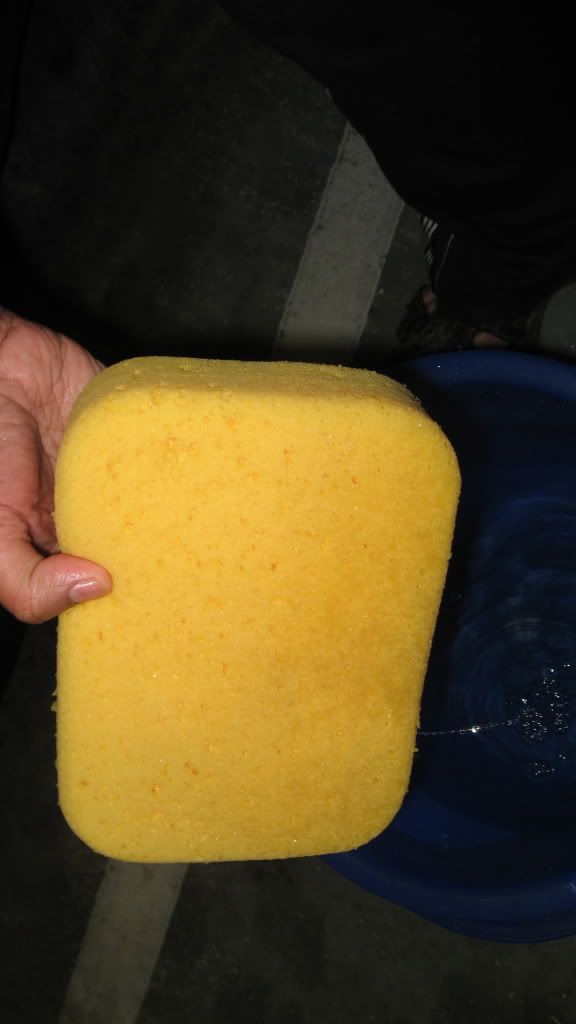
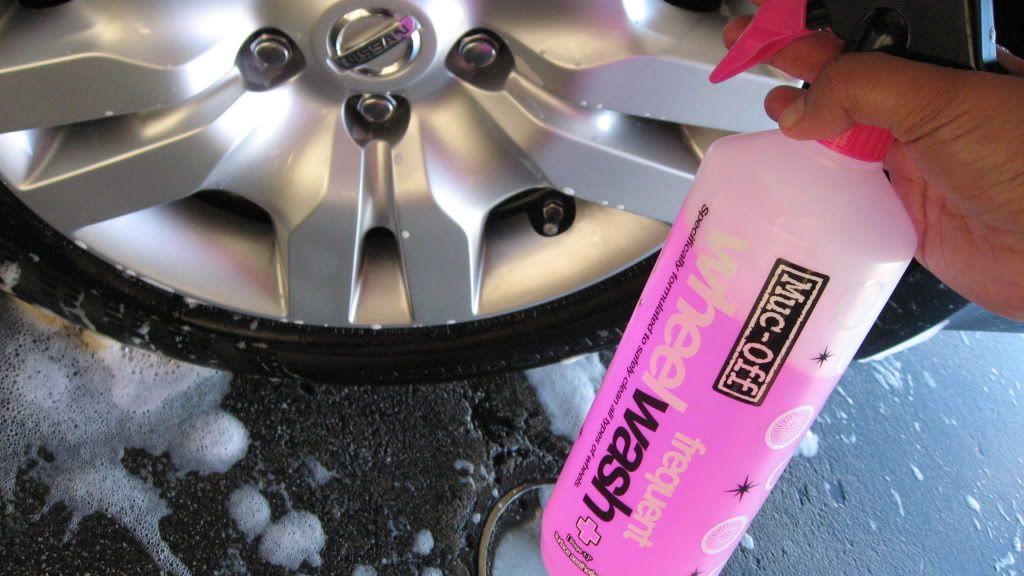
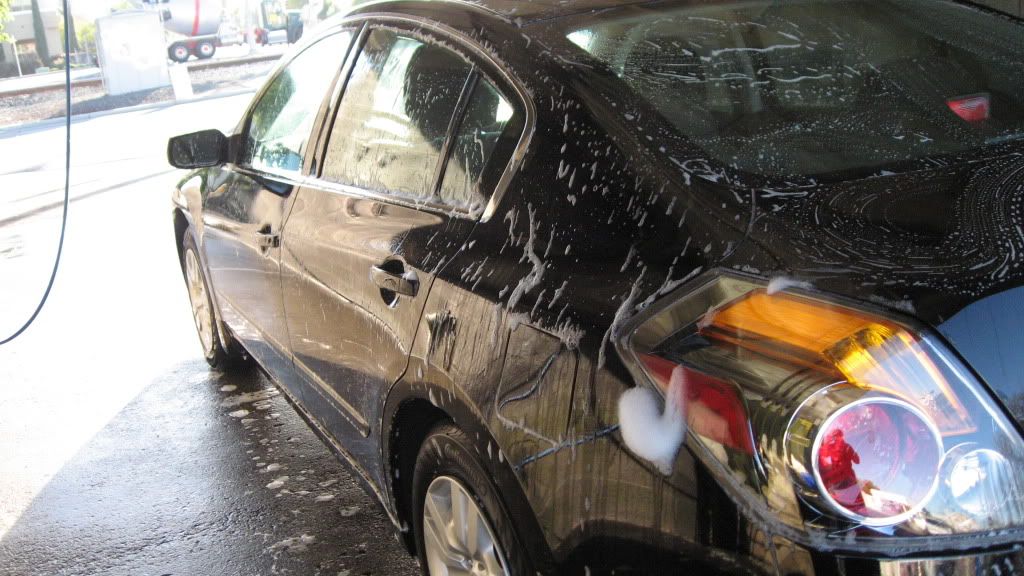
I wanted to ensure that I fully remove the old wax, so based on suggestions from forum members, I decided to use some dish soap (again, do NOT use this for regular car wash since it will strip off the wax/sealant protection). My soap mix included 5 gallons of water, 5 oz of Megs Gold class car shampoo, and about 6 oz of dish soap (I used AJAX, but you can use any dish soap – Dawn, Palmolive, etc). I put $2 in the machine to pre-rinse the vehicle and fill both my buckets with water. Then, using microfiber mitt, I applied the soap mix to the entire vehicle. Then, using a grout sponge dipped in the soapy mix, I scrubbed the wheels to remove lose dirt. Finally, I sprayed muc-off frequent wheel wash on all the wheels. I let it dwell for about 4-5 minutes, and then used the coin-op to rinse off the soap from the car. Finally, I used the waffle weave towel to dry the car, and another towel to remove any remaining water from the car. All done in $4 (plus supplies)
Washing wheels this early in the detailing process is very important, since the overspray from the wheel cleaner on paint is removed in the next step of claying.
Products used:
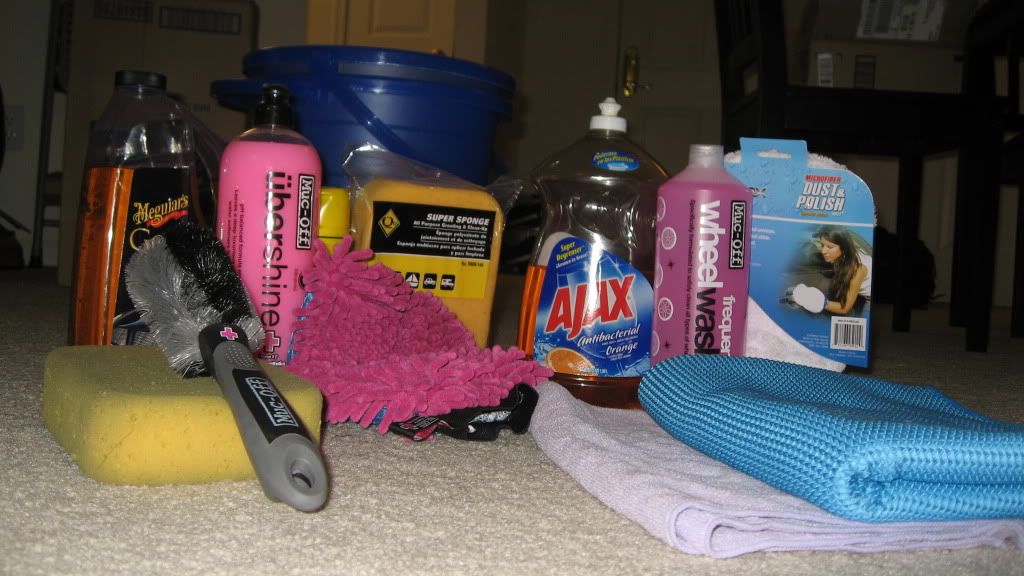
Wheels soaked with Muc-off frequent wheel wash:
Lathered with soap mix of water, dish soap, and Meguiar’s Gold Class Car Wash Shampoo:
Useful links for Car Washing & Drying using ONR (note, I did not use this process above since the goal was to strip the wax, and not to do a maintenance wash)
- Scottwax’s video on ONR:
 Scottwax’s video on ONR
 - My ONR video post: http://n00bdetailer.blogspot.com/2012/03/optimum-no-rinse-wash-shine-2012-v3.html
CLEAN / CLAY
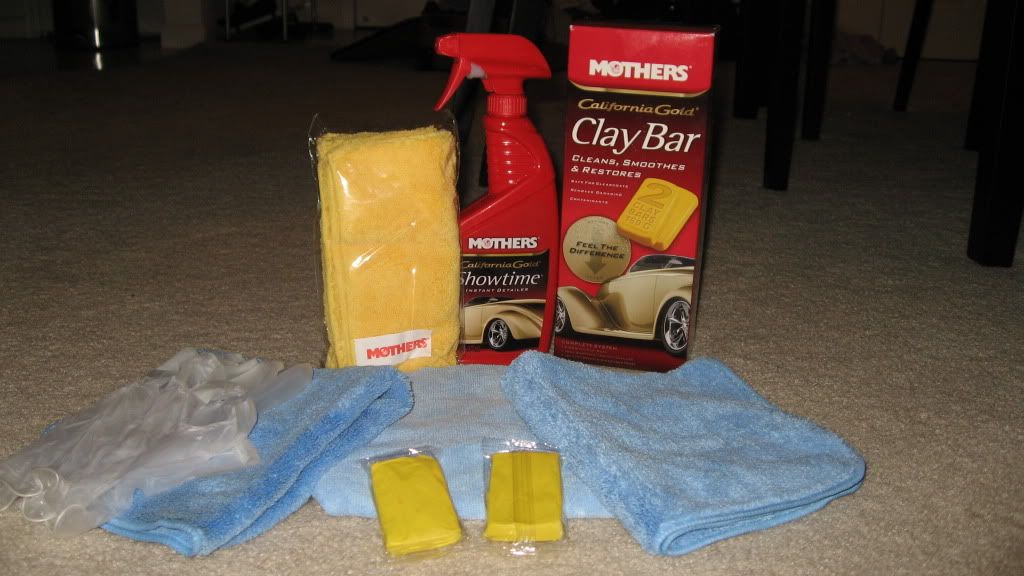
Products used for Step 2 (Claying/Cleaning):- Mothers California Gold Clay Bar System 07240 (comes with 2 clay bars, lubricant spray, and microfiber towel)
- Extra Microfiber towel
- ONR v3 at QD Strength (2oz of ONR 2012 added to 16oz water)
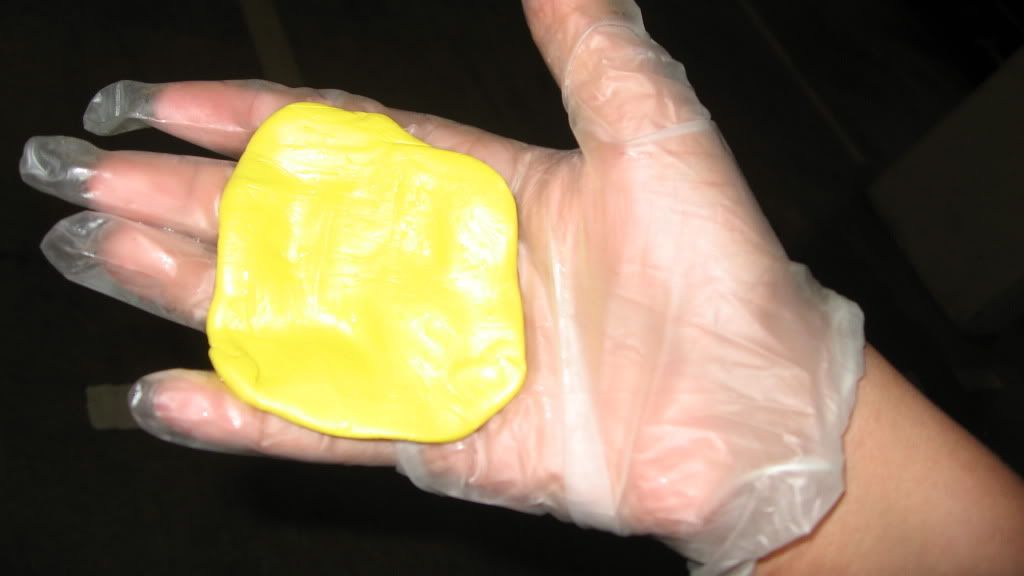
The claying process is fairly straight forward. It took me about 1 hour to clay the entire vehicle. Nothing fancy here – knead the clay into a pancake of approx 4” diameter, spray some mothers showtime detailing lubricant (comes with mothers clay kit) on the clay and a 2x2 square feet surface, and rub the clay back and forth until the clay runs smoothly on the surface. Remove the left over spray from the surface, and repeat the process until the entire car is done. Every couple panels, the clay will become dirty, at which point I fold the clay and knead it again. Read the forum link below on how to make your favorite clay last longer – must read.
One useful thing with clay is to finish all the horizontal surfaces (hood, trunk lid, top) first. The reason for this is that if you accidentally drop the clay on to the ground, you need to throw it away. I found it is much more difficult to hold the clay in the hand when working on vertical surface as a n00b (I feel fairly comfortable now). By finishing the horizontal surfaces, if you drop the clay, you won’t feel too bad because you finished half the car with it already. Also, don’t knead your entire clay bar in one shot – that way, if you drop the clay, you still have the remaining half to knead and clay the car.
After claying the entire paint body on the vehicle, I ran out of the lubricant that came with the Mothers Clay kit. To complete claying the windshield and wheels, I mixed ONR v3 at QD strength and used it as a lubricant.
Products Used:
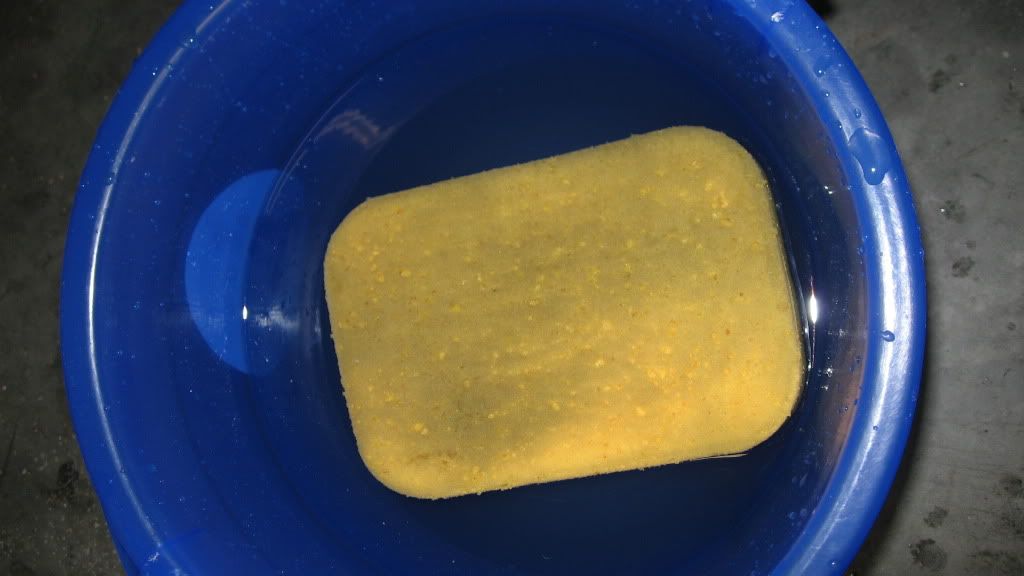
This is how the clay looked when I started:
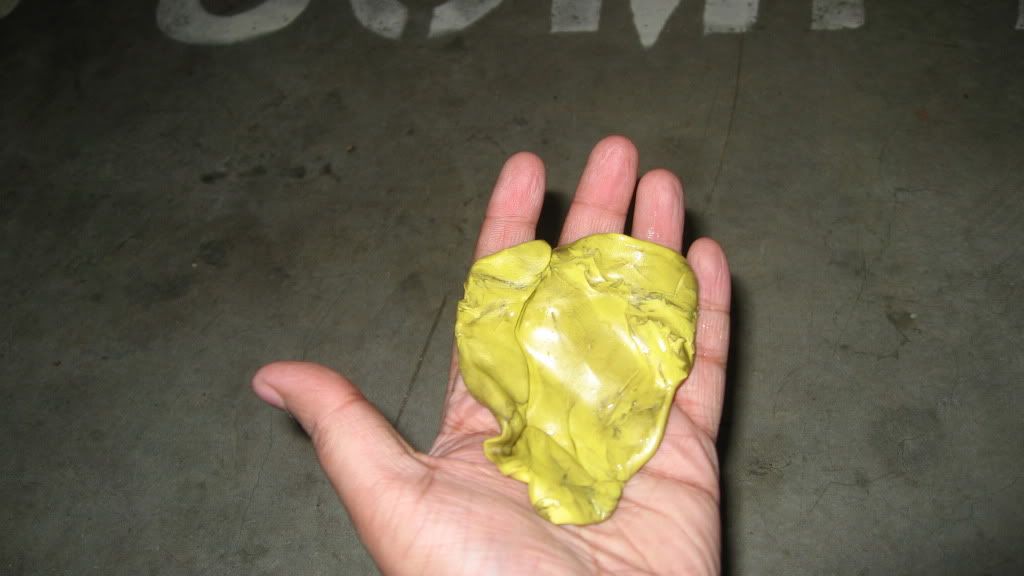
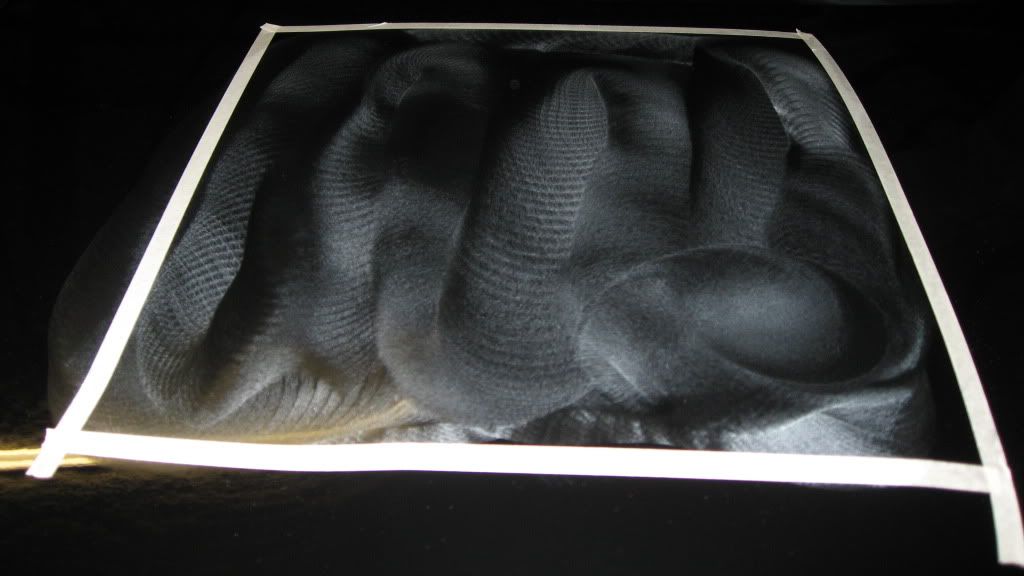
This is how the clay looked after I finished the car:
Useful Links for Claying:
- (Adam’s Polish)
 Adam’s Polish–Claying HOW-TO Video
 - ***MUST READ THREAD*** http://www.autogeekonline.net/forum/how-articles/37331-how-make-your-favorite-clay-last-alot-longer.html
- http://www.autogeekonline.net/forum/hot-topics-frequently-asked-questions/47044-clayed-my-car-scratched-hell-out.html
TEST SPOT
Before we start removing under-surface paint imperfections like scratches and swirls on the entire car, it is important to do a test spot – especially if you are working on the vehicle for the first time. I strongly suggest a 2x2 sq.ft surface as a test spot, which is what I used.The test spot gave me acceptable result using Meguiar’s Ultimate Compound. I tried Meguiar’s 101, but it left behind too much powdery dust, and it was not worth the additional cut I got.
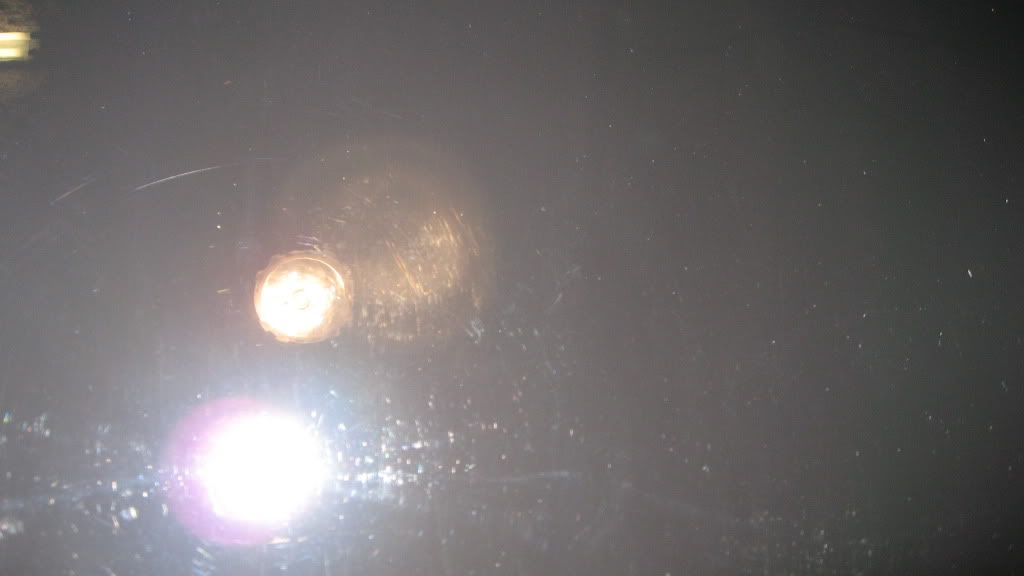
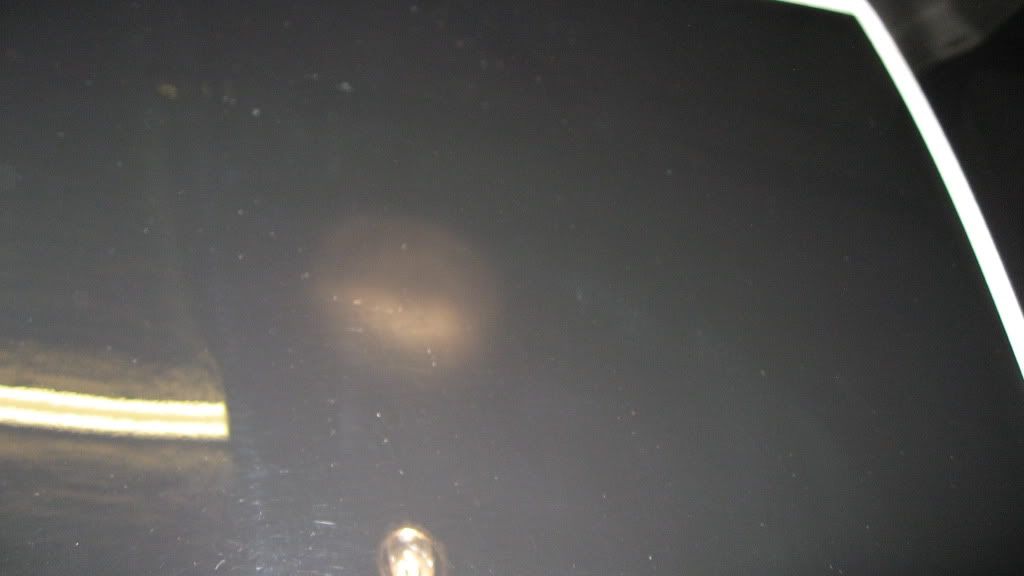
2x2 square feet area:

This is how it looked from closeup. You can see some scratches around the light source near the bottom of the pic…
Primed the pad with Megs UC:
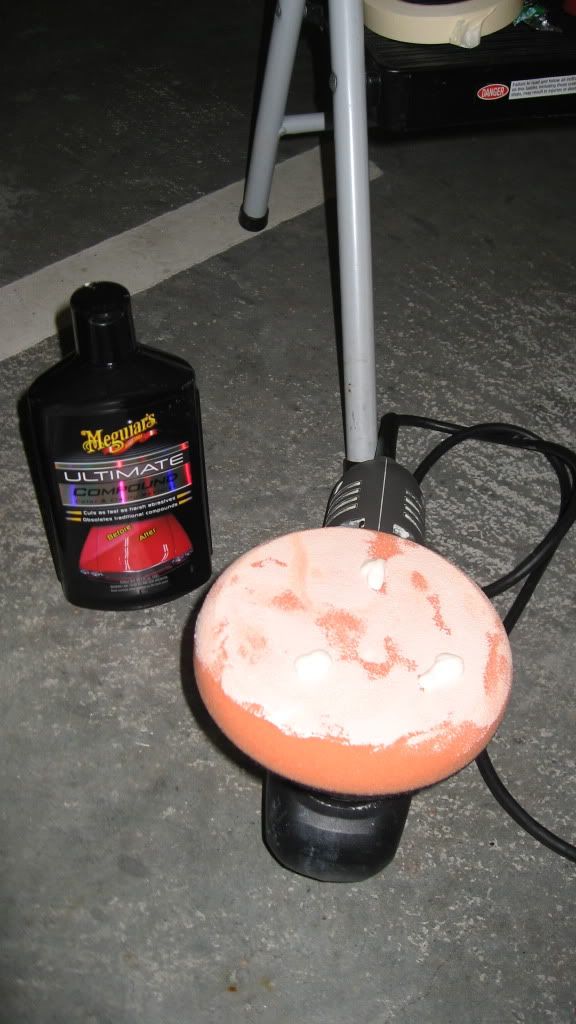
Spread the compound at speed 3 before starting to compound the area..
After this, I did about 5 section passes at speed 5 with firm downward pressure..
Useful Link on why Test spot is necessary:
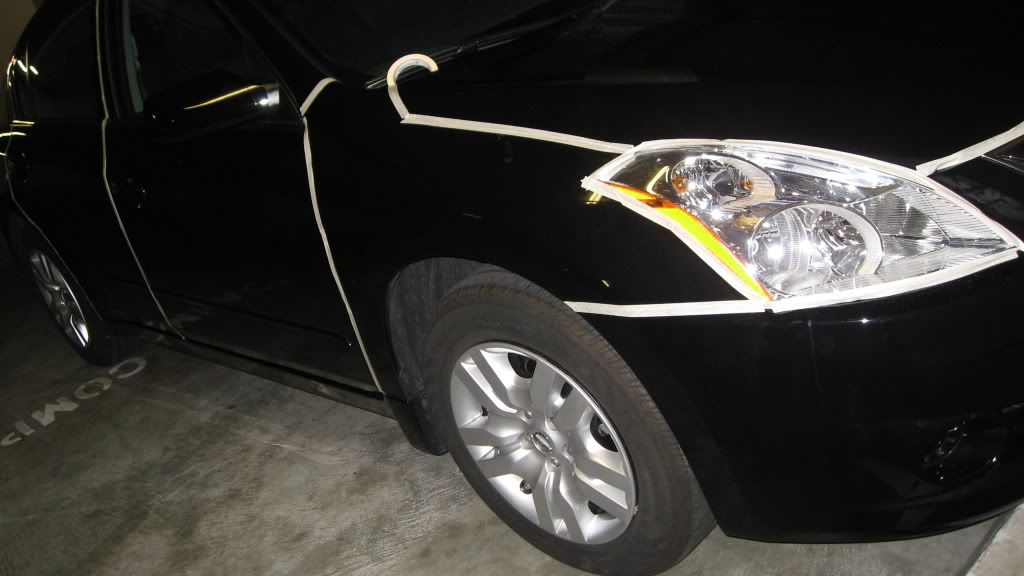
TAPE THE TRIM AND EDGES
Not much to say here – its fairly straight forward. I tapes the trim, emblems, edges, areas between the door and doorjam, etc.
Useful link on taping:
REMOVE SWIRLS
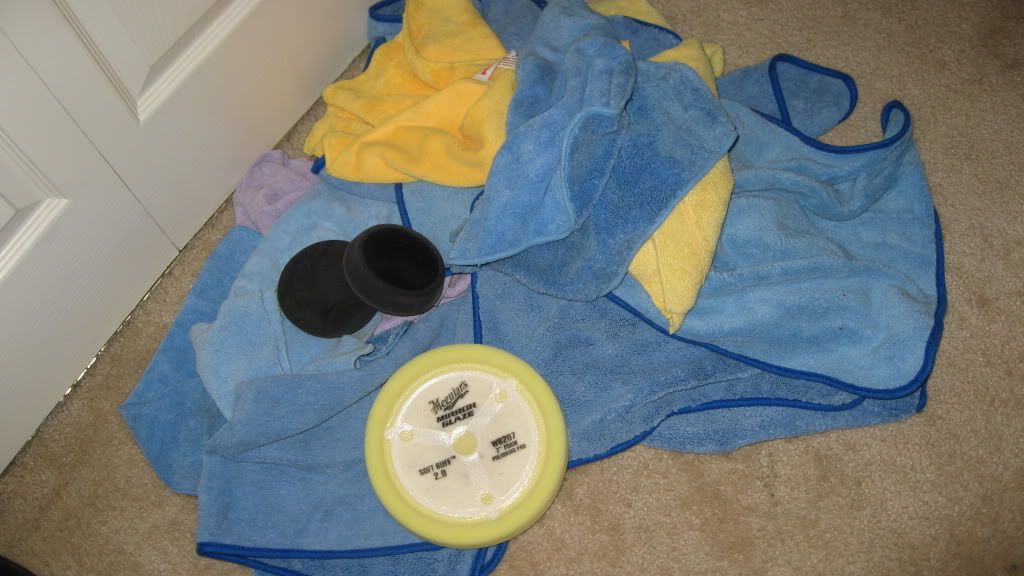
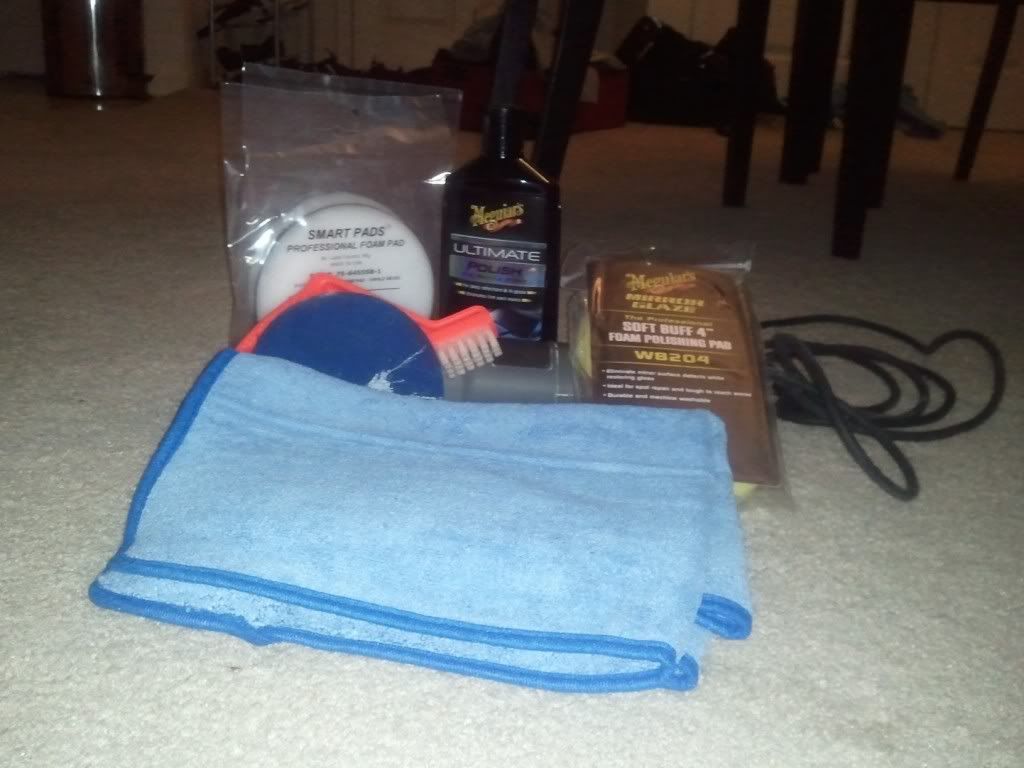
Once your test panel is done, removing swirls is easy. You use the technique that worked on that test panel, and duplicate the process on the entire paint body. Using the test panel, I got acceptable result from Meguiar’s Ultimate Compound (Megs UC) and some firm downward pressure on speed 5 with Porter Cable 7424XP polisher – so I decided to use that on the entire vehicle. After each pen, I remove the residue using a good microfiber towel.Products used (Ignore the M105 bittle in the picture – not used):
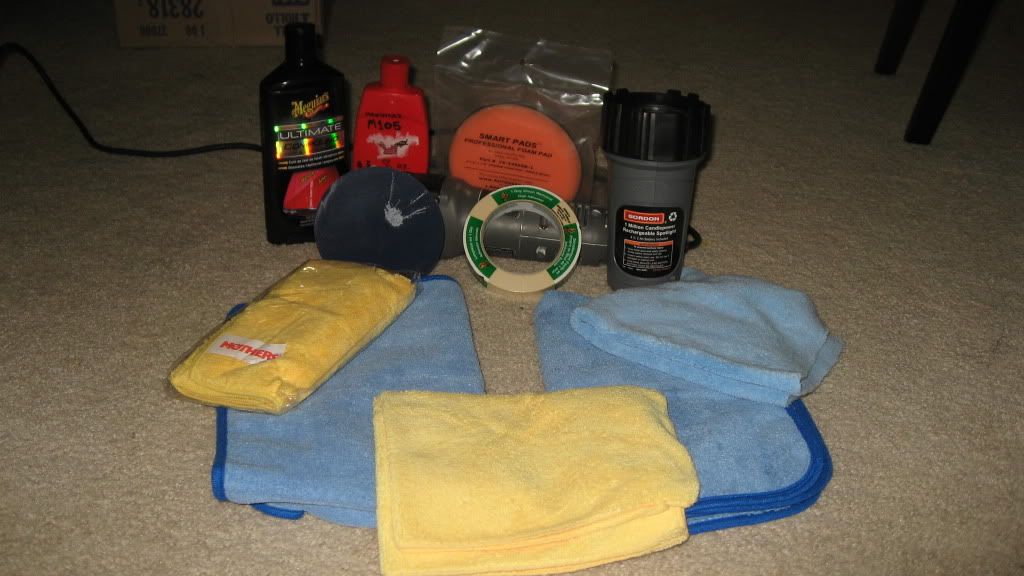
The foam cleaner pad is a must have.. I bought it for $3 at the Chemical Guys store – absolutely worth it. I cleaned the pad after every section, and I completed compounding the entire car with just 2 foam pads! The hand applicator was used in those tight areas when the machine could nor reach.
POLISH
Polish process is very similar to the swirl removal process. I used Meguiar’s Ultimate Polish on speed 5 and firm pressure with Porter Cable 7424XP.After doing the first panel, I noticed that the polish had quickly dried up – making it a little difficult to remove the polish. Today was a hot day here in NorCal – temperatures outside were over 80F, and my garage was probably even warmer. To work around this problem, I again used the ONR v3 QD strength mix, and sprinted the pad with one spray prior to doing each panel. This allowed the polish to dry slowly, making it easier to wipe out the polish.
It is most important to use your best and lightest towel after polishing and apply very light pressure when removing the polish. You have done the hard work of removing the swirls and light scratches, and the last thing you want is to scratch the paint again by using a bad towel to wipe.
After this step, I drove my car out of the garage to inspect it in day light. I have included some pics from the inspection
Products Used:
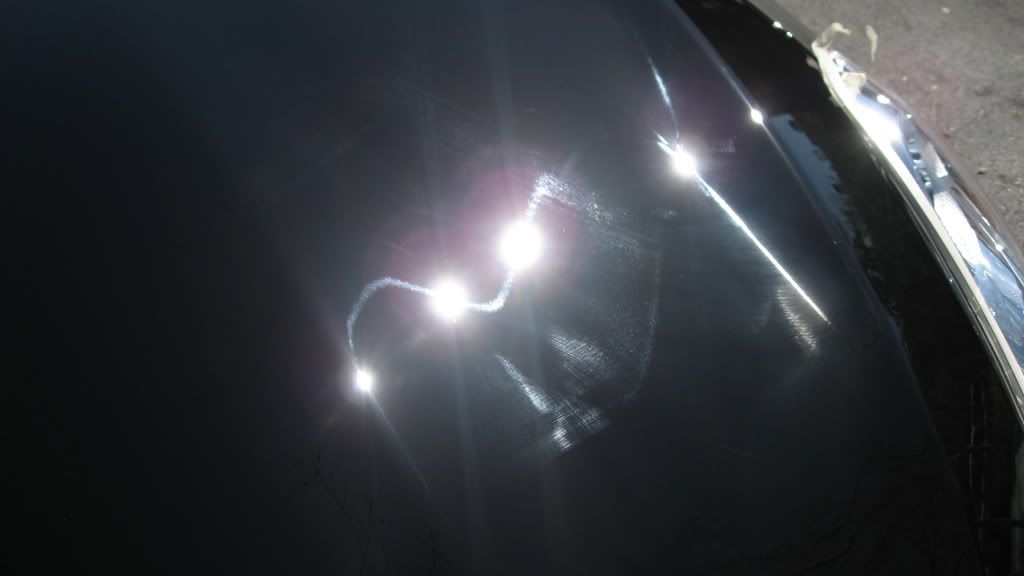
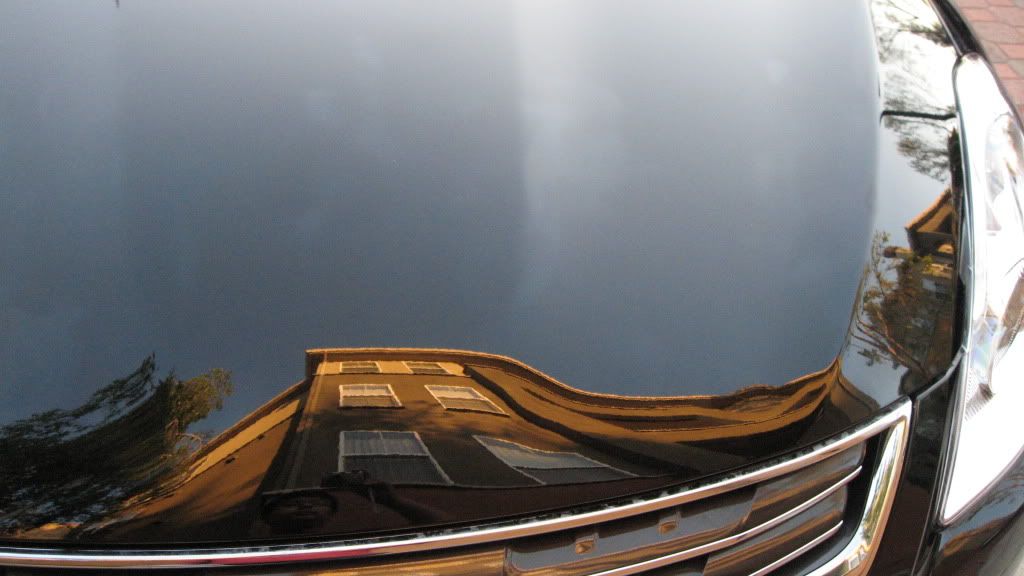
Where did those dam swirls go?!
SEAL
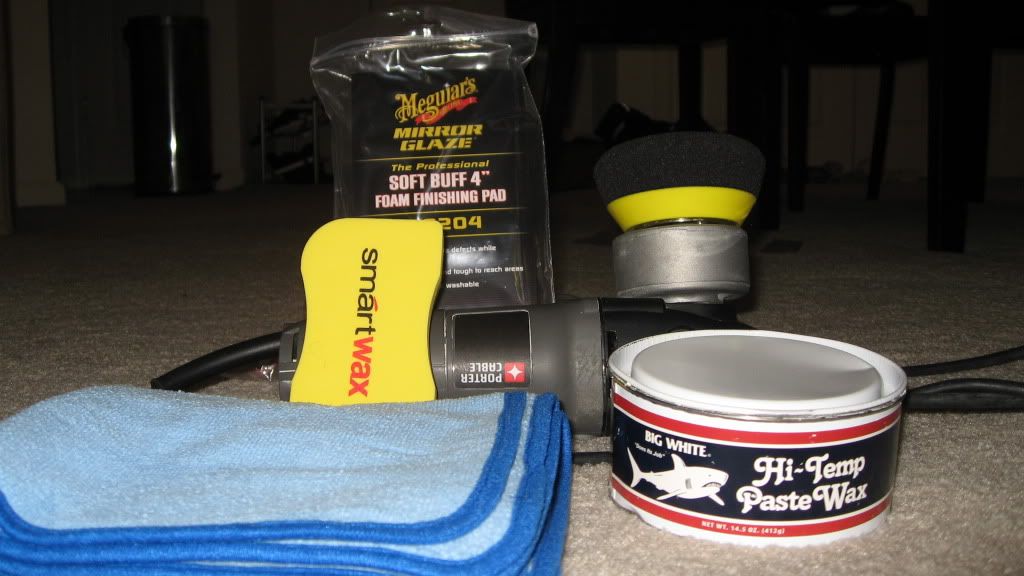
The final step in the process is to protect the amazing swirl-free shine you have achieved. A sealant is non-natural, chemically enhanced, and longer lasting last stage product (LSP). Unlike natural wax (such as Carnauba), sealant last longer. Given that my car constantly bakes in sun 8-10 hours everyday while I am at work, as sealant was definitely the way to go.I already had the big white Hi-Temp Wax (also known as Future Kare 1000p or fk100p). Contrary to the product name, this product is actually a sealant, not a wax. It is particularly suites to resist high temperatures and last longer. Some people claim that this sealant lasts as long as 6 months!
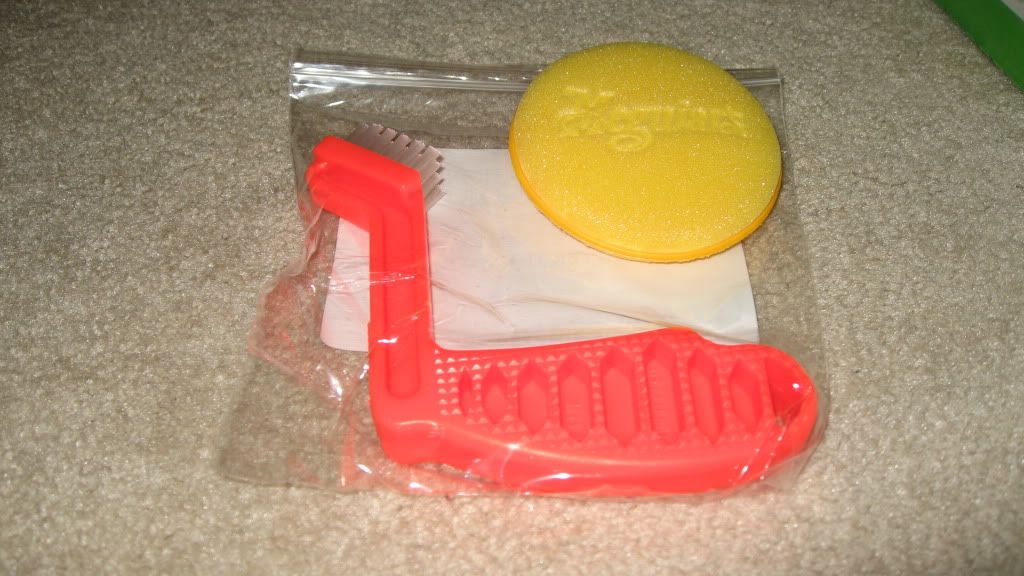
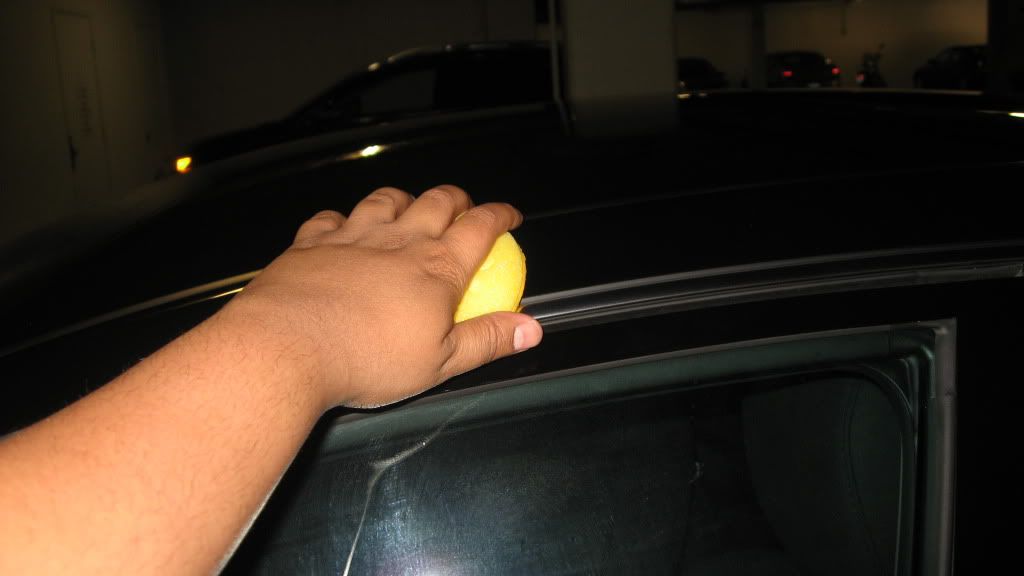
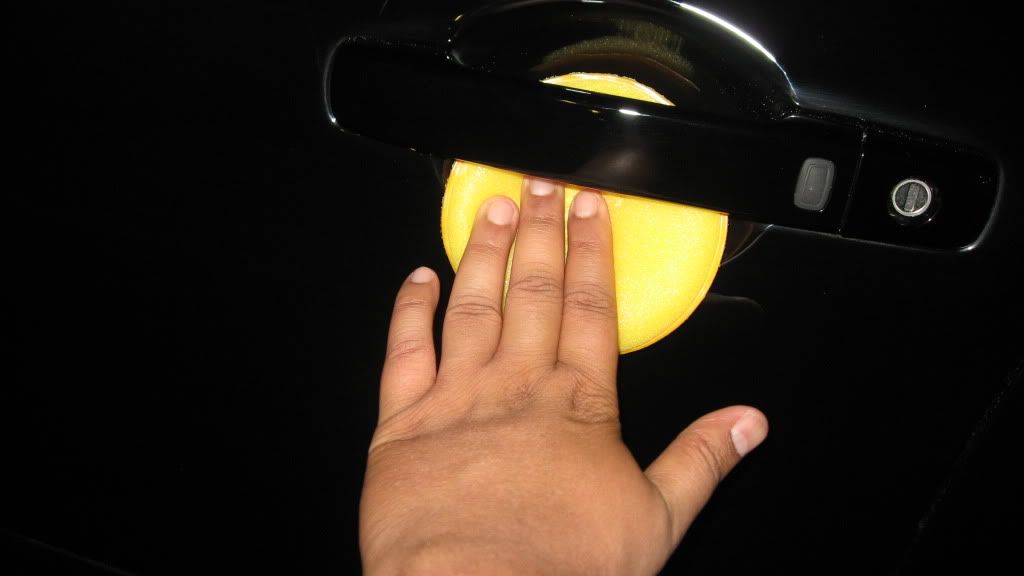
Applying the High Temperature Wax is a little tricky. The 4” pad fit perfectly in the tin, so I decided to use it. When you open the tin, you will notice a very thick paste inside it, and you will immediately wonder how to transfer this paste onto the pad! After trying several ways, I found that the best way to transfer the wax onto the pad is to firmly hold the tin, then use the PC 7424XP and 4” foam pad at speed setting of 1. Hold the foam pad against the firmly held tin, and start the buffer. Count 1 second (1 Mississippi), and stop the buffer. This will transfer enough wax to do a couple panels. FK1000p goes very thin, so ensure that you do not wax thick, or it will be hard to remove the wax once it dries.
After applying the sealant to the entire car, I waited about 20 minutes to do the “swipe test”. This simple test tells whether the sealant is ready to be removed or not. Using a clean finger, I swipe the panel that I started with first – if the swipe revels a clean shiny surface, it is dry enough to be removed. Removing the FK1000p sealant was super easy. I used the technique discussed on Autogeek.net called “breaking the wax open” to remove the wax, and the “slow wipe” technique for the final wipe.
Products Used:
After applying the wax on the entire car (but before wiping it off):
Useful Links for applying wax or sealant:
- “Breaking the wax open” and “slow wipe” technique:
- Applying wax using machine (start at 20:30 minutes into the video):


AFTER PICTURES
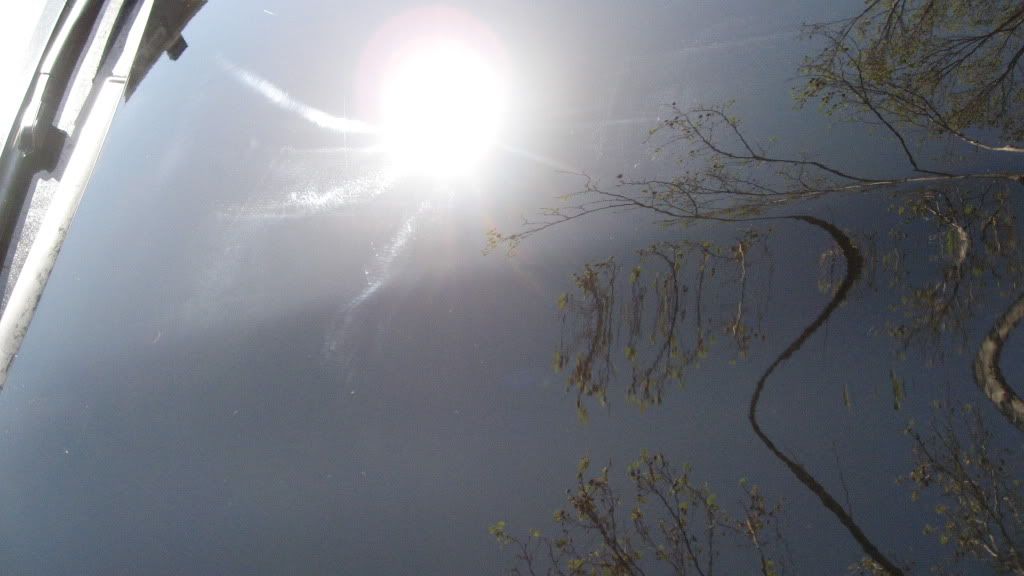
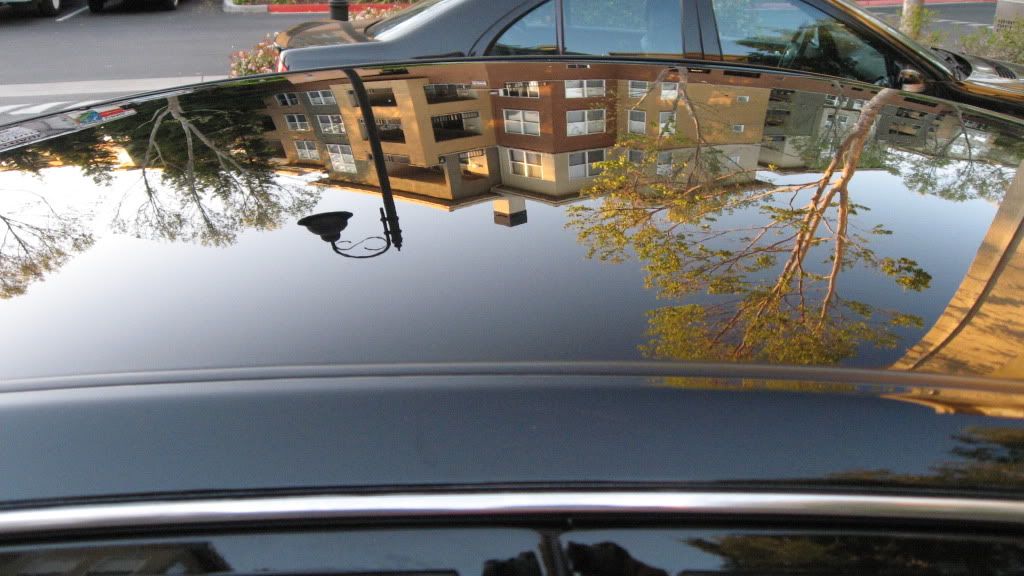
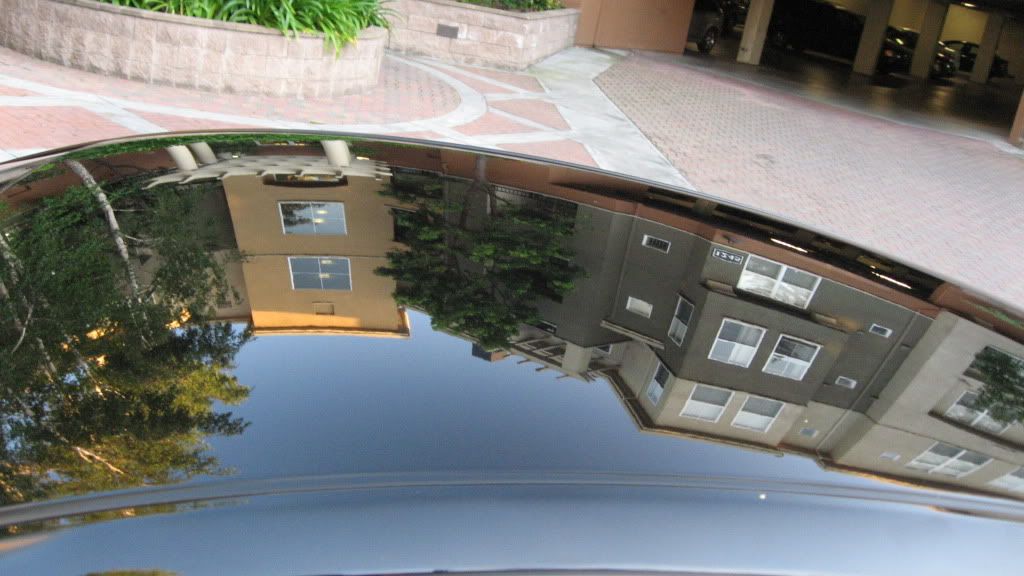
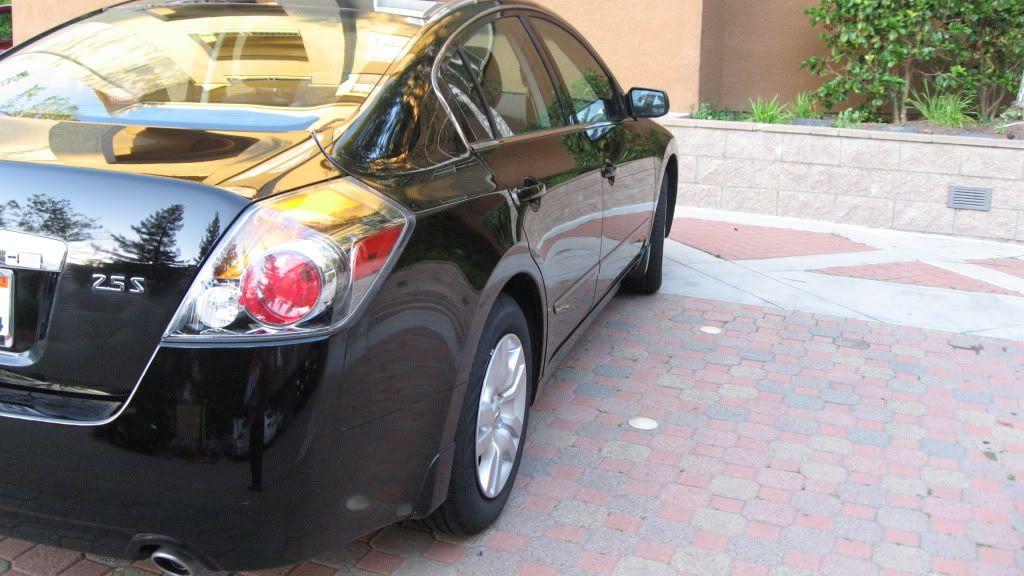
Phew! All done… almost! See final pictures after I wiped out the dried wax and took the car outside to inspect in day light.Rood of the car… look at the clear reflection!!!
This is my laudry for tonight!!!!